For testing purposes we have created an instance of XAMPP with eMS 3.0.10 installed. The XAMPP is environment that sets up an Apache server, Tomcat, PHP and MySQL in one mobile package. You can find XAMPP documents here, if you want to know more.
Since the environment is easy to use, we think its useful for eMS testing on one computer (with some knowledge you can set up the environment to allow connections from within your LAN, but this is not our objective.
If you want to test eMS as you have probably done with Interact on a training session, you can download ZIP package on a link which you can find on right side of this page. Please note that ZIP package is done for Windows systems and should run on any Windows version. The speed will depend upon your computer physical capabilities.
Procedure for running eMS on standalone machine:
- To run the instance you have to UNZIP the package to C:\ drive. When you do this, you will have c:\XAMPP directory on your computer. It is important to leave it on C: drive, since the settings have been set up so, that “emshome” directory is entered as “c:\xampp\emshome”. Of course you can change the location of the folders, but then you will have to set up the package differently.
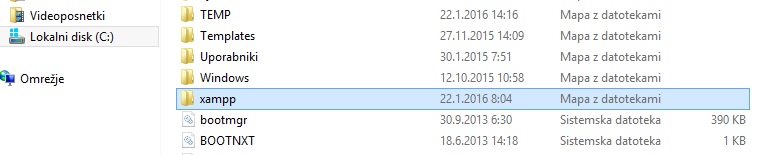
- Navigate to folder c:\xampp and start program “xampp-control.exe”

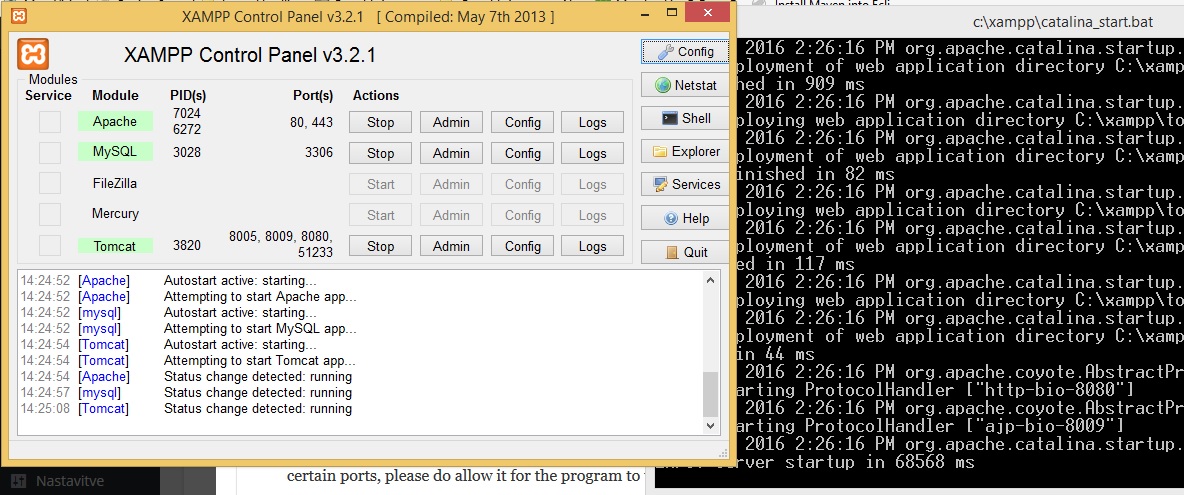
- The Xampp program will start and also start the services which you need (Apache, Tomcat, PHP, MySQL). Don’t worry about the black window that it opens, because this is just a console window of Tomcat and is Debug intended. You may not close this window since it is needed for Tomcat. If you run Xampp and Windows Firewall asks you if you want to allow Xampp to open certain ports, please do allow it for the program to work.
- Now open your favorite Web browser (IE, Chrome, Firefox or whatever) and navigate to address “http://localhost:8080/ems”. eMS shall open from your computer and you are allowed to log in.
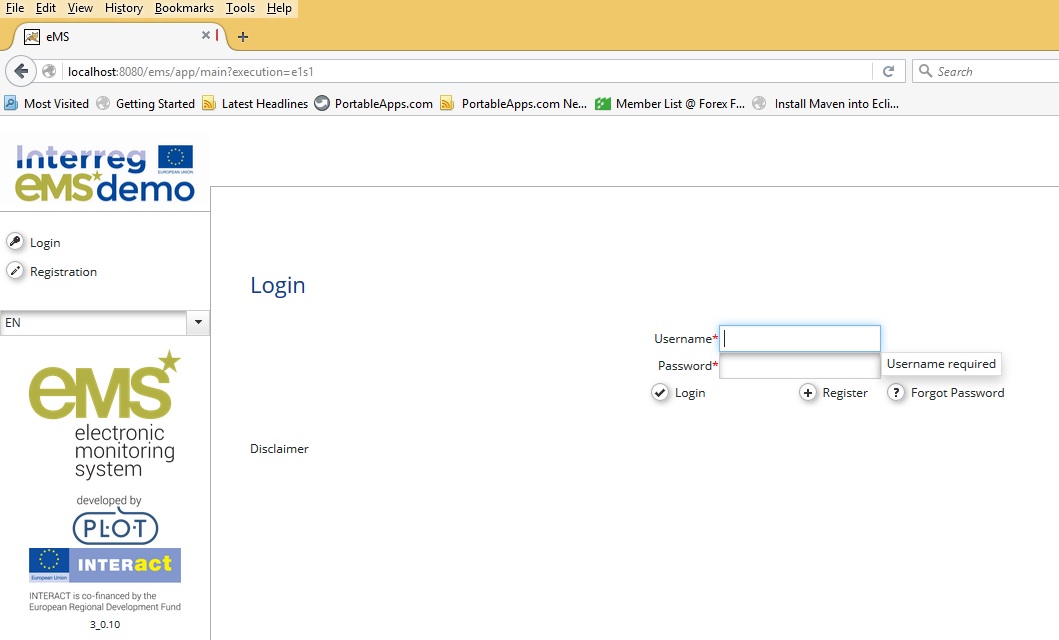
- After login you can use eMS system locally from your computer.
- If you don’t want to use instance anymore, just open “xampp-control.exe” once more and stop all the running services and close the program.
- If you would like to get rid of the installed instance, just delete “c:\xampp” directory from your disk.
eMS will run slower as your instance in testing environment or production environment, since your computer has to serve all the services needed itself.
The XAMPP instance on the link on the right has database from Interact’s CA training, but has all other functionalities as well. The only difference is that it is set up so, that projects are driven through the procedure up until CA certification.
To adapt or login to system you will need usernames and passwords that are here already predefined. Usernames that you’ll need:
| Username | Password |
| admin | admin1234 |
| applicant1 | applicant11234 |
| JTS1 | jts1234 |
| FLCAT | flc1234 |
| MA1 | ma1234 |
| CA1 | ca1234 |
| JTS2 | jts1234 |
| FLCIE | flc1234 |
| FLCOutside | flc1234 |
| CA2 | ca1234 |
| CA3 | ca1234 |
| CA4 | ca1234 |
| CA5 | ca1234 |
| CA6 | ca1234 |
| CA7 | ca1234 |
| CA8 | ca1234 |
| CA9 | ca1234 |
| CA10 | ca1234 |
| CA11 | ca1234 |
| CA12 | ca1234 |
| CA13 | ca1234 |
| CA14 | ca1234 |
| CA15 | ca1234 |
| CA16 | ca1234 |
| CA17 | ca1234 |
| CA18 | ca1234 |
| CA19 | ca1234 |
| CA20 | ca1234 |
| CA21 | ca1234 |
| CA22 | ca1234 |
| CA23 | ca1234 |
| CA24 | ca1234 |
| CA25 | ca1234 |
| CA26 | ca1234 |
| CA27 | ca1234 |
| CA28 | ca1234 |
| CA29 | ca1234 |
| CA30 | ca1234 |
| CA31 | ca1234 |
For technical administration you can also use passwords and usernames for MySQL:
- MySQL – username: root and password: emsdev
- Database name used in instance is “emstraining”
We hope the manual how to use Instance is clear enough, since we are unable to provide and technical help with this install.
XAMPP instance of eMS from CA training is here (click this -LINK-)